DIY Home Makeover: How To Reorganize Your Kitchen Cabinets For Maximum Space
From making meals, washing dishes, and organizing groceries, to standing on your tippy-toes to grab that pan from the hard-to-reach shelf—there’s no doubt about it—you spend a good amount of time in your kitchen.
But, like any place you frequent often, the more time you spend there… the more things you realize you want (or need) to change. And whether you just installed your kitchen cabinets or an upgrade is long overdue, whether you’ve added a new set of pans or you’re just sick and tired of searching for the items you need in the corners of shelves, taking the steps to reorganize your kitchen cabinets is a must.
Not sure how to begin? We’ve got you covered.
Here’s a step-by-step guide to organize your kitchen cabinets and maximize your space.
1. Familiarize Yourself With What You Have
One of the biggest mistakes people make when it comes to reorganization is underestimating the project or not realizing what’s actually there in order to make the right steps to clean, change, and reorder items.
Before you even begin to reorganize your kitchen cabinets, start by familiarizing yourself with what you have. How many pots and pans do you regularly use? Do you have complete sets of dishes? Are there items that you don’t use (or haven’t used in a really long time)? Are there items you can part with? (More on this later!)
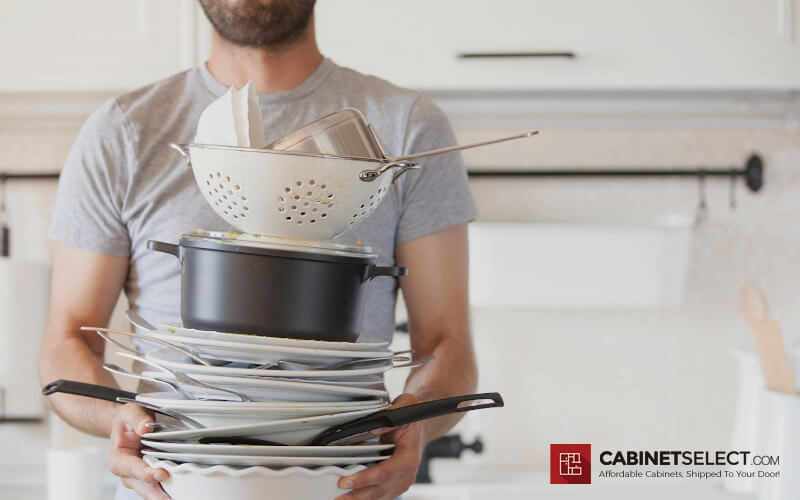
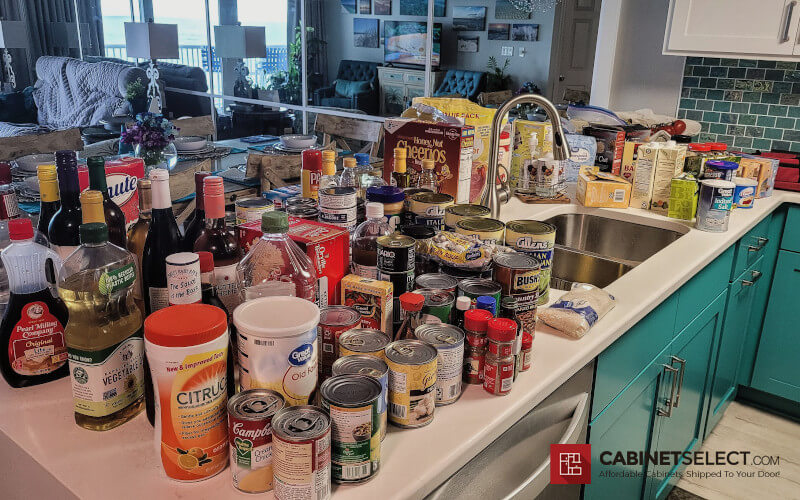
Answer those questions first. Then, get to the good (and hard stuff): take every single thing out of your cabinets so you can have a fresh start.
2. Remove, Sanitize & Start Sorting
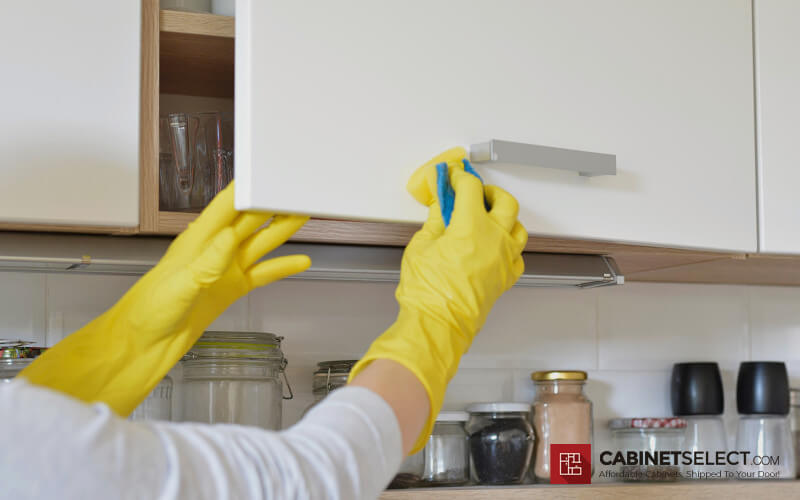
No, we aren’t kidding. If you really want to reorganize your kitchen cabinets, you have to actually start from square one. After you’ve taken inventory of items, (which, by the way, includes removing all the items so that you can actually determine what you have), wipe down the cabinets—interior and exterior—to give yourself a fresh start.
You’ll also want to clean every single item you’re saving (either by hand or in the dishwasher). Why? Because not only will this help you see what you use and what you don’t, but you’ll have both a reordered and clean kitchen.
As you clean items, create two separate piles to start: save or toss. From there, you’ll separate the ‘keep’ items into groups.
3. Prioritize Function
A good rule of thumb is to think about the purpose and start by making piles of items based on that purpose. For example, anything related to cleaning and storage should go somewhere close to the kitchen sink. This includes things like paper towels, soap, dish towels, wraps and foils, Tupperware, etc.
When you think about your average day, what items and tools are you most apt to use? For example, silverware is probably an everyday item. That means it should be in an easily accessible place. The same goes for drinking cups.
Anything that is more for special occasions doesn’t need to have priority in the front of a kitchen cabinet or kitchen shelf. That doesn’t mean it should go in a hard-to-reach space, but it does mean that you can reorder the placement in order for it to make more sense.
4. Set Up Your Shelves
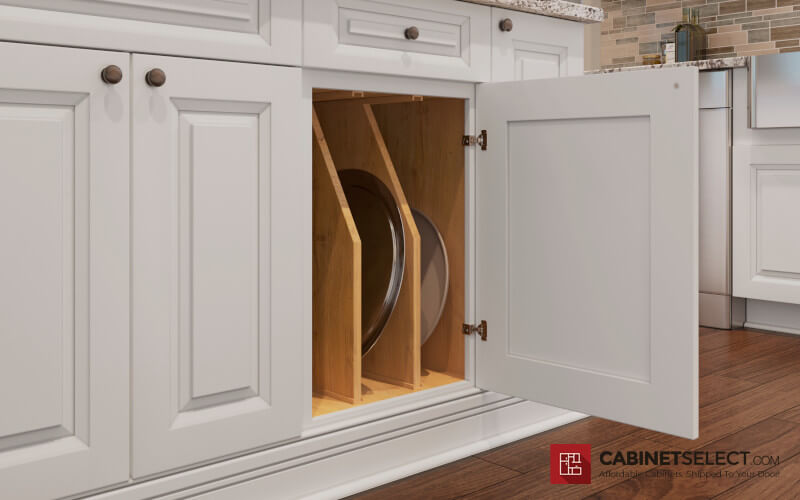
Before you put items back on the shelves, you have the option to *level up* your kitchen. This can be anything from shelf-liners (for easy cleaning and some design flare) to gadgets or ‘hacks’ that can help you save additional space.
Let’s be honest, you’ve probably seen every ‘hack’ under the sun when it comes to kitchen organization. While you don’t need to adopt every idea, it may be helpful to try a few for your kitchen (especially if yours is on the smaller side).
The best part? You don’t have to spend a ton of money to save space.
Here are a few DIY organization hacks I love:
→ Magazine holders can work great for holding Tupperware lids
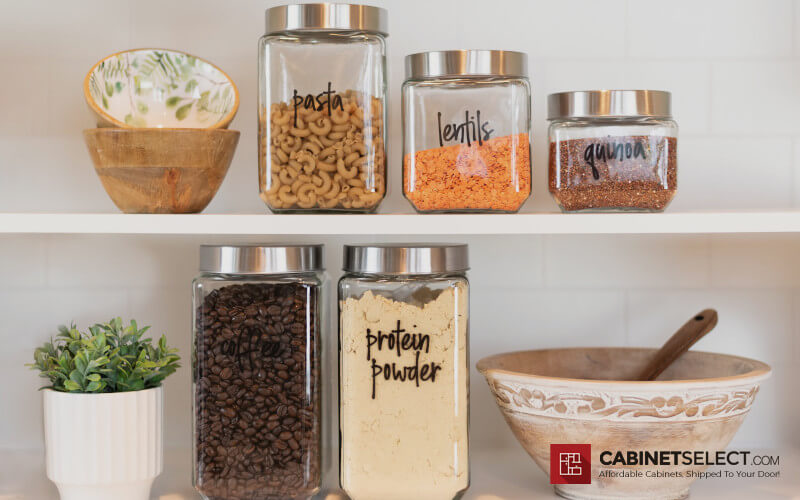
→ Decanting can help to streamline storage areas and keep consistency
→ Stackable bins can help to condense cabinet space
→ Risers can separate and create a ‘shelf within a shelf’ for added vertical space
Before you put your items away, consider the value of adopting any of these ideas to sort and organize with a bit more intention.
5. Create Reminders for Your Space
One of the hardest parts of starting to reorganize your kitchen cabinets is getting used to the changes. As you determine where your new items will be, create ‘sticky notes’ or labels to help you and other household members get used to the changes.
Something that may also help is keeping a running list of items that you need (or even items that you have) so if you’re tempted to purchase something new, you know exactly what you need and can avoid purchasing duplicate items.
6. Assess Your ‘Toss’ Pile
At this point, you’ve at least started, or maybe even made considerable progress on your shelves and getting items back into their proper (or new!) places. Now, it’s time to assess the ‘toss’ pile(s). These are items that you don’t use, that are broken and/or not in quality condition, or that take up space unnecessarily (for example a Tupperware lid that has no match).
Go through your pile(s) and determine what could be resold on a platform like Facebook Marketplace, Nextdoor, or even Craigslist. You’d be surprised how many people are looking for kitchen items—they’re expensive!
If you can’t sell items or don’t have the time to engage in the selling process, you can also choose to donate your items. Places like Goodwill, Salvation Army, and GreenDrop will take non-food items and any other donations. This can be a great way to organize and adopt the ‘spring cleaning’ mindset—regardless of the time of year!
7. Consider Long-Term Changes and Expert Installation
Now that you’ve learned how to reorganize your kitchen cabinets, it’s time to think next steps. Are you due for a cabinet upgrade? Will you need to get new cabinets installed in the future? Keep us in mind!
We offer a FREE Kitchen Design Consultation! Let’s get in touch.
