DIY Guide: How to Install Upper Kitchen Cabinets Like A Pro
Here’s the thing, you don’t have to be an expert to install upper kitchen cabinets (and install them well). Although having an expert is always ideal, sometimes you don’t have the time or money to invest in a professional installation. And truth be told, you don’t need to.
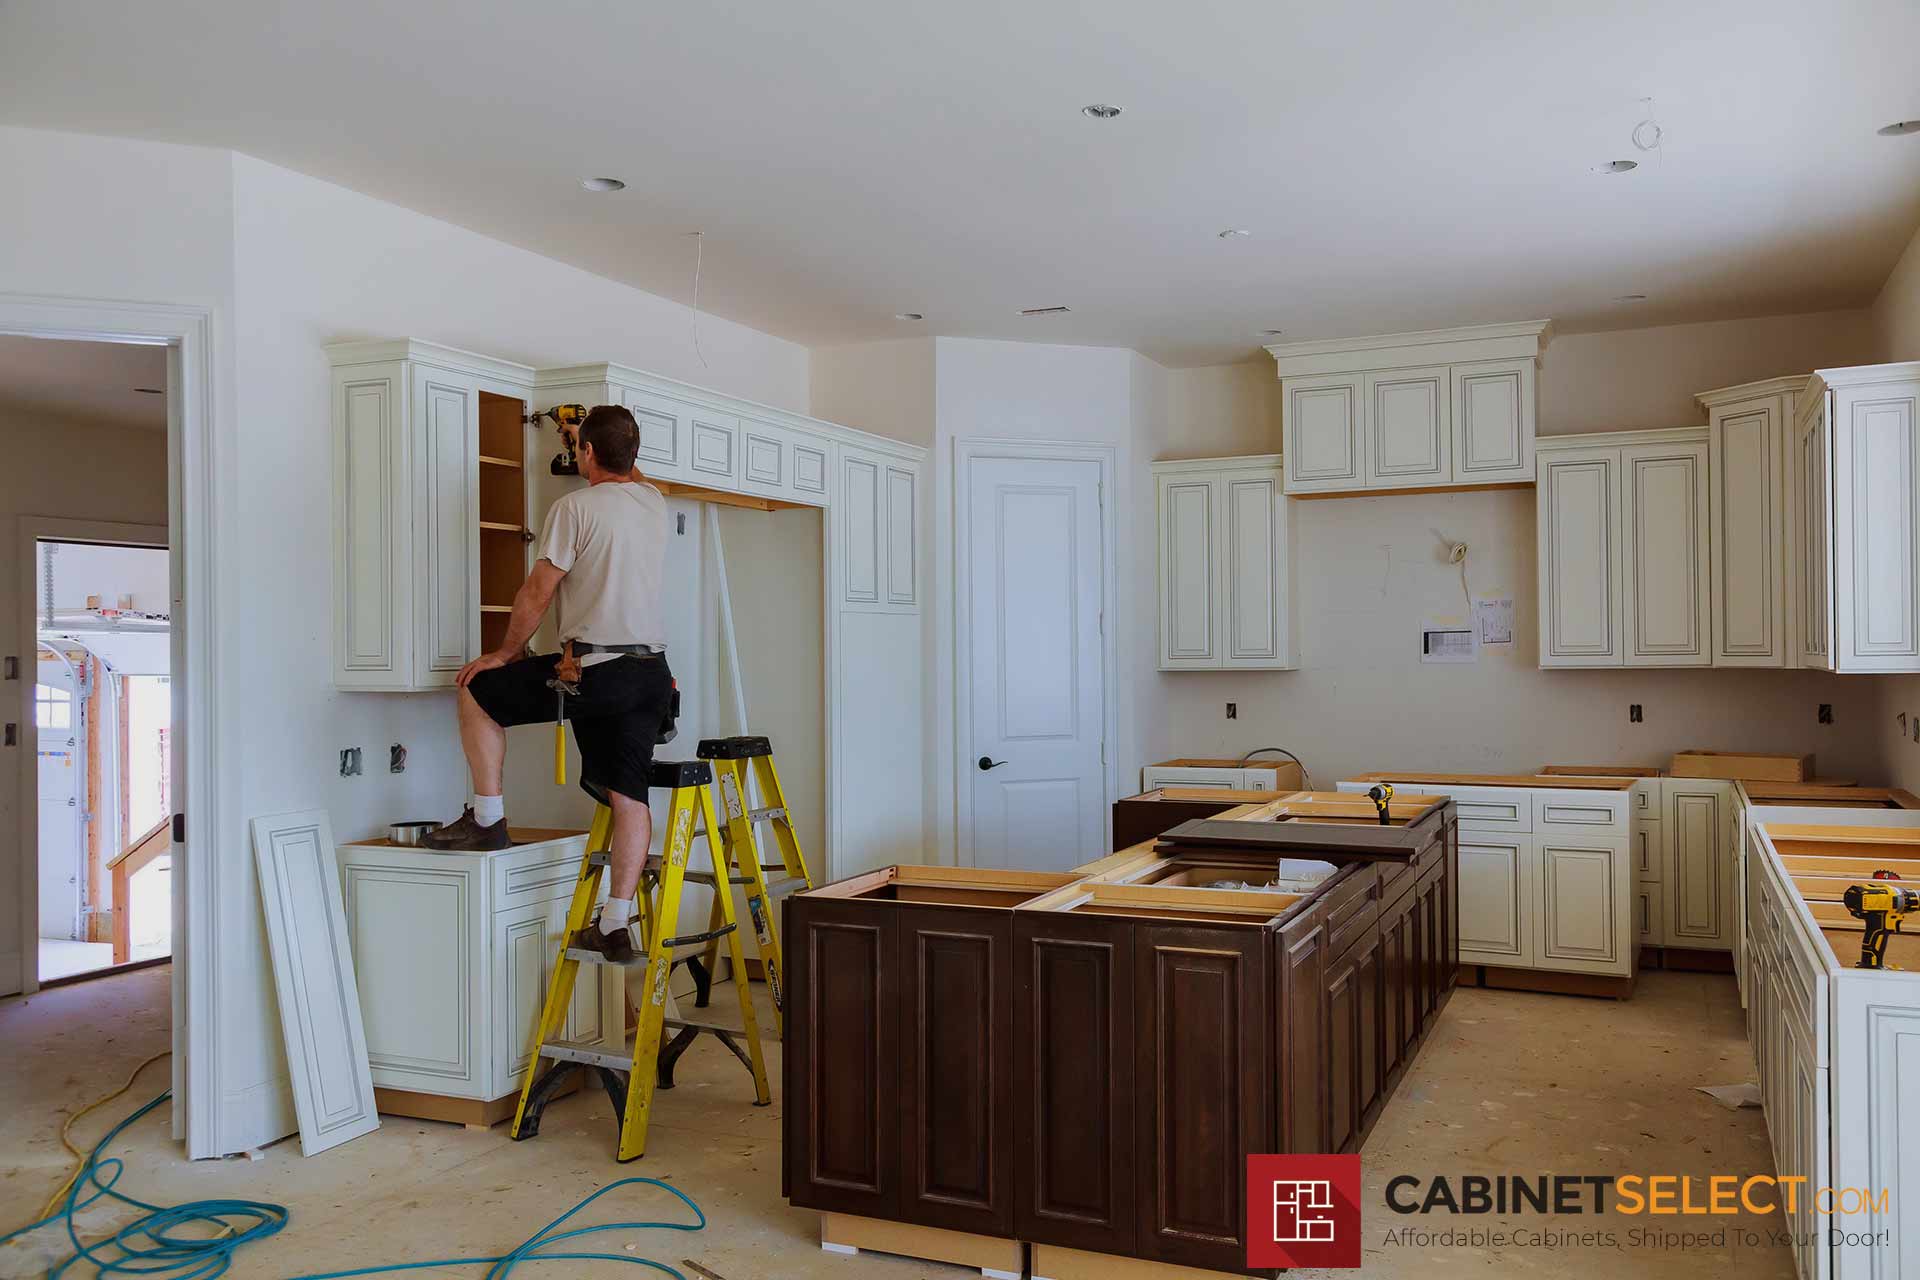
In fact, we’re going to show you how to install your own kitchen cabinets—even if you’re by yourself! Whether you’re a DIY fanatic, fully ready to take on any project that comes your way, or perhaps embarking on this ‘I’ll-do-it-myself’ journey for the first time, here are some tips and tools to help you hang your kitchen cabinets with ease.
How To Install Wall Cabinets
1. Start with Safety
Any time you use power tools or are working by yourself, safety has to be your number one priority. Why? When you use high-power tools and heavy material, there’s going to be risk involved. If you do not feel confident, you’ll want to consult (or potentially consider relying on) an expert to help.
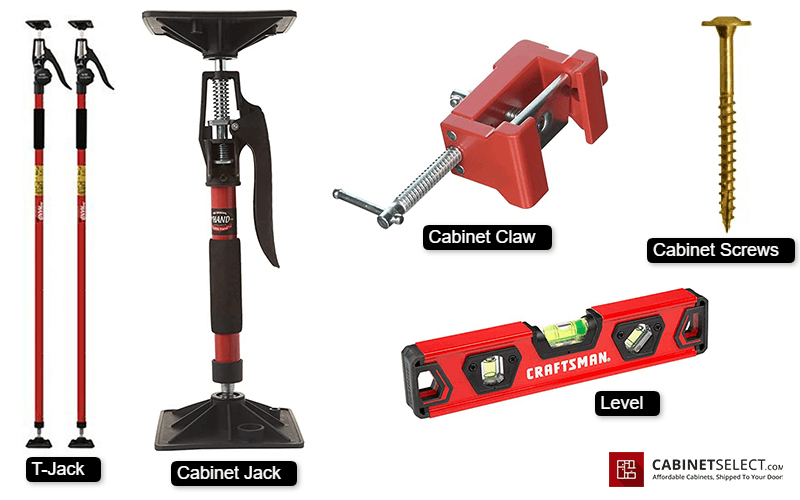
Otherwise, be sure to have some helpful tools—like a Cabinet Claw (which will hold face frame cabinets still while you work), a Ledger Board (to support and set the wall cabinet in place – You can use a straight piece of 2×4 plywood for this), T-Jack (which supports the front of your cabinet while you make small adjustments) and a Cabinet Jack (which will hold cabinets in place giving you free hands for drilling)—to support you.
For further information, please read our guide on the 8 tools you need to install new kitchen cabinets.
2. Ready Your Work Area
Beyond the tools mentioned above, you’ll also want to gather all installation materials (including any nails, bolts, screws, pencil, etc.). It may also be helpful to get a stud finder and a level as well so that you can assess the area where you are hanging and be sure to align the cabinets perfectly straight before drilling any holes.
Prior to doing any hanging, think through the order of your cabinets and what will be easiest in terms of maneuvering yourself through space (i.e. if you install lower cabinets before upper cabinets, it will be far more complicated and potentially messy to reach above what’s already been hung).
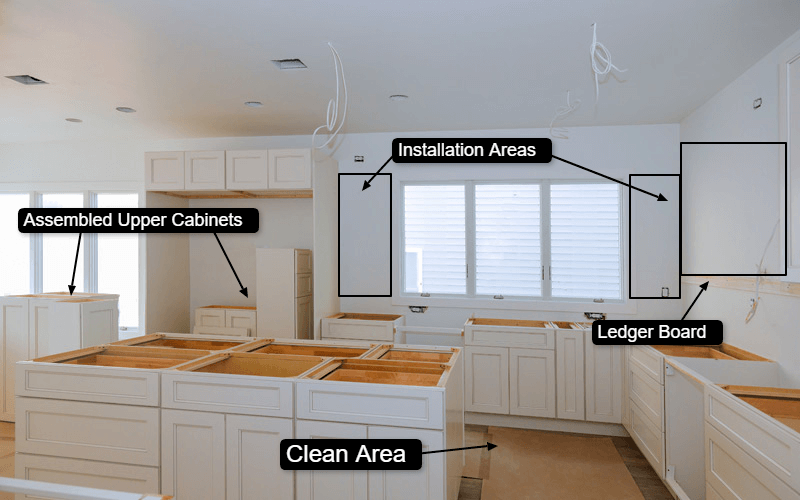
You’ll also want to consider the shape of your kitchen. Based on the layout, you’ll want to start in a space that’s easy to move about in and will not block off other areas that you’ll need to install or work in later.
3. Measure & Outline Your Wall Space
After you’ve readied your work area, start by measuring the wall where your cabinets will rest from the bottom up. You’ll want to hold a level at the lowest point and against the wall to discover where the highest point is (and to create a space between your lower and upper cabinets, if applicable). Use a pencil to mark your spots and a ruler to help create a straight line to follow.
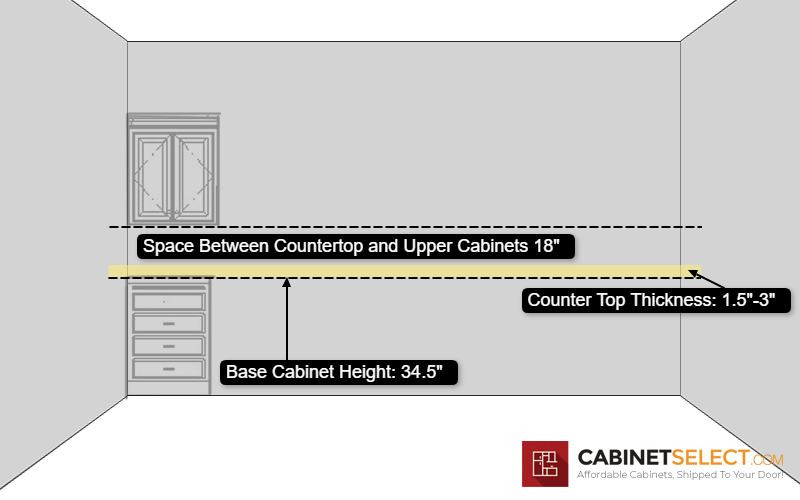
Once you’re finished with the boundaries, begin outlining where the cabinets will hang by drawing lines to make the edges. To double-check your work, align a level along each of your pencil lines.
4. Mark Your Stud Locations
As you create the boundaries for your cabinets, use your stud finder to locate spots where you will be drilling. Because cabinets need to be screwed into the wood, you’ll have to find the stud locations in order for your cabinets to be properly (and securely) hung.
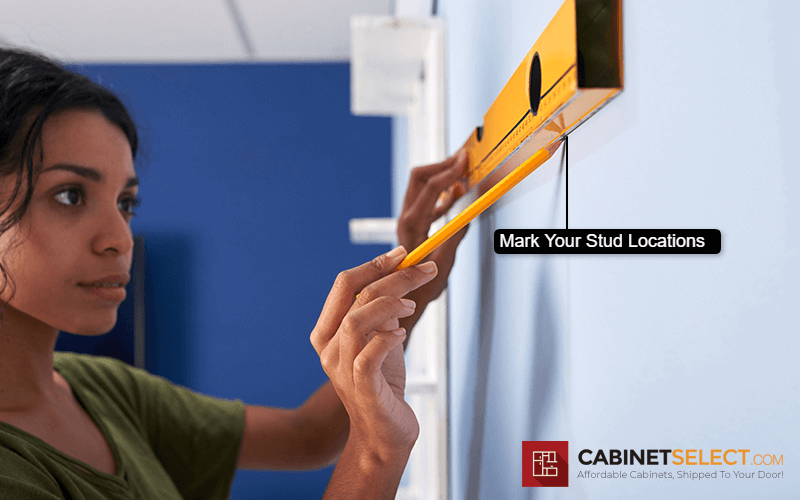
If you don’t have a stud finder, you can also knock on the wall. If you hear a lower sound instead of a hollow, empty sound, chances are—you’ve hit the stud!
If you’d rather not guess, you can also drill partway into the wall about every foot or so. Although this creates a bit of a hassle later because you’ll need to cover and spackle each of those spots at the end of the installation, it’s a potential workaround.
5. Ready Your Supports and Cabinets
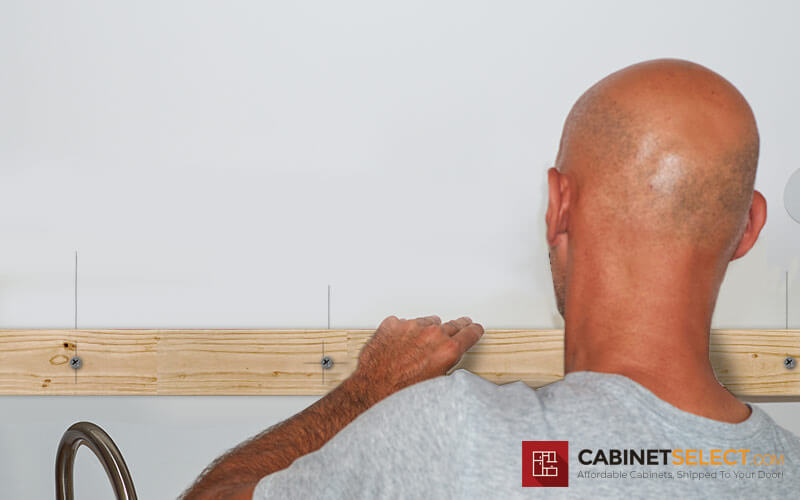
If you’re doing the cabinet install solo, it’s important to set up your ledger board or cabinet jack! These tools will help tremendously in keeping the cabinets still and straight. Next, you’ll want to remove doors from the cabinets to make them lighter and easier to maneuver.
6. Begin Your Install
Now that everything’s ready, you can begin! Start by drilling holes in your cabinets (reference the stud markings you made earlier!). Then screw the cabinet onto the wall, making sure to not screw in too tightly as you’ll need to shim* the cabinet until it’s perfectly even.
*Shimming is adding small, wooden strips to your cabinet in order for it to be positioned perfectly level.
As you move to another cabinet, be sure to remove extra space in order for the cabinets to ‘hug.’ You can use a clamp to hold them in place as you add another cabinet. This will support your shimming process and help everything stay level as you work.
7. Finish Your Job
Finally, finish your project by screwing the cabinets together.
If there is any extra space between the cabinet and the wall, you can add filler strips and, of course, make sure that your cabinet screws are fastened tightly. If you use filler strips, keep in mind that you may need to paint them so that they perfectly match the cabinet colors.
When you’re finished with the cabinets, you can remove your ledger and then finally, add your doors! Now step back and admire your work and pat yourself on the back for a job well done!
Want to Remodel Your Kitchen Space?
Let Us Help You Envision and Price out Your kitchen Project.Start Planning
Frequently Asked Questions
To connect two upper cabinets to each other, install and level one of the cabinets, and using the ledger bar line up the face frames of the two cabinets and clamp them together using the cabinet claw.
Shims are used to fill any space that might be created between the cabinet and wall. To shim a cabinet while installing, hold a level across the cabinet, slide a shim up from the bottom until your cabinet is leveled with your other cabinets until it’s snug. To level the top of the cabinets, insert the shims from the top back of the cabinet.


